During the pandemic, I dipped my toes into the hobby of tabletop gaming. The wargaming and roleplaying that people were sharing on social media of Warhammer 40,000, Star Wars Legion, and Zombicide among other games captured my attention. Plus, the images of the miniature playing pieces for these games were amazing!
So, I started off my involvement with the hobby last year by buying a brand new game called Marvel United that was being introduced through a Kickstarter campaign. I've had such an entertaining experience with Marvel United that I've also bought some Zombicide games and am going back and forth about maybe investing in some Blood Bowl teams. Here are a few lessons learned from my beginner experience in tabletop gaming and miniature painting that I hope may be helpful to other people just getting into the hobby who may stumble upon this.
LESSON 1 -- MINIATURES ARE UNPAINTED
Miniature figures, game pieces, and scenery for tabletop game are unpainted. Those stellar images you see of incredible looking miniatures that are posted online didn't look like that coming out of the box. Someone put effort into decorating the miniature to look that way! When you get that same miniature it will be a one color piece of plastic that looks just like it did when coming out of the production mold.
Also be prepared that the miniatures for many games don't come assembled. That means you need to snap out parts from panels and put together pieces with crazy glue. Then you may need to sand out rough spots and imperfections. Finally, it is time to paint!
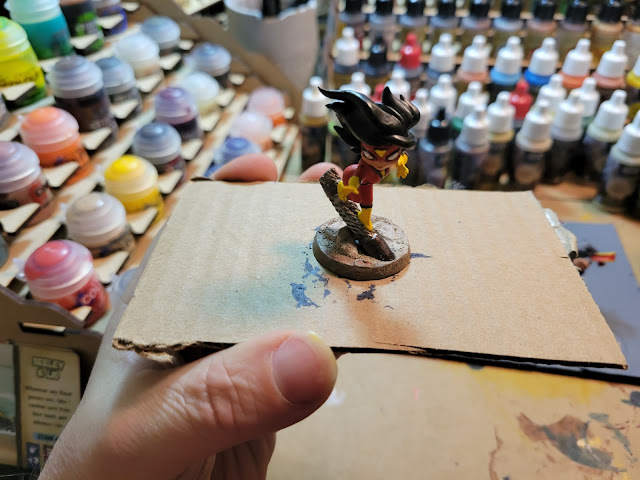
If you don't want to deal with the assembly aspect of miniatures, the figures and game pieces from CMON tend not to need to be put together. There was no assembly required for the Chibi style figures that come with the Marvel United game. Understanding what you are getting before making a purchase is important because the miniatures used in wargaming and roleplay games can be a considerable investment. You don't want to buy boxes of miniatures then be too overwhelmed to prepare them for actually playing with.
LESSON 2 -- PAINTING MINIATURES TAKES TIME AND TALENT
The miniatures you paint right off the bat are going to look nothing like the jaw-dropping displays of awesomeness that are posted on Instagram, Facebook and Twitter. Still, anyone who puts some time and effort will still be able to do a decent job painting miniatures. You don't need to impress the world if you are happy with decorating your own miniatures for your own gameplay. It is about having fun when it comes down to it. Remember that!
It isn't just about picking up a paint brush and slapping some paint on a miniature. There are different techniques for coloring, shading, washing, glossing and more that make a huge difference in making miniatures stand out. Take some time to watch YouTube video tutorials to get great tips and suggestions for miniature painting. Do a search with "the name of your game + miniature painting" and you are sure to find some great videos to watch. I've learned quite a bit about improving the look of my miniatures through watching these types of videos.
I'm not very artistically gifted or talented, but the more I've painted I keep find myself getting a little bit better every time. Stick with it and keep going and over time you are sure to continually improve. Don't give up! Remember too as long as you are satisfied that is good enough. If at some point you just aren't satisfied with how your miniatures are looking, you can always check around with local hobby shops for skilled painters who will decorate your figures for you on commission.
LESSON 3 -- PRIME BEFORE PAINTING
Don't just start painting your miniatures! The paint won't bind to the plastic and will easily flake off as it dries. Spray a coating of primer on the miniatures before you paint.
A lot of paint supply companies offer some expensive primer options. I've found a can of flat coat grey Rust-oleum from the hardware store works just fine. With as expensive as this hobby can be that is a nice way to do some cost-cutting without sacrificing quality.
Varnishing is also recommended to avoid the paint chipping from your finished miniatures. I just keep my miniatures around the house for family game nights and haven't notice a need for that extra protection. If you are taking your miniatures places to play games at friends' homes or game conventions and tournaments it may be wise to safeguard them with a coat of varnish. Note varnish will dull the overall brightness of the color of your miniature so be prepared for that before giving a coating.
LESSON 4 -- PAINT CAN BE EXPENSIVE
Wow! Paint is expensive! And it is hard to know what you actually need when just starting out.
I purchased a starter kit from Army Painter to have myself a base set to work with. The paint does a decent job but if you want to kick your details up a notch it would be wise to buy some more expensive Citadel paints for highlights. Citadel Colour is pricey but if you use it to provide contrasts to your base coat it can compliment Army Painter while keeping your paint budget reasonable.
Just be prepared for sticker shock when it comes to buying paint. For glazing or creating colors you can also water down paints or mix them together so you can get what you need without buying a bottle for every color under the rainbow. You can find online guides that will help you create a spectrum of colors from combing a few basic ones. Whether you are just creative or are trying to save money there are a variety of ways that being a mixologist can benefit you.
I've found good paint selection and prices at gamenerdz.com. This online hobby store has discounted pricing, free shipping on orders over $75, doesn't charge sales tax and has a loyalty rewards program that can provide additional savings. Well worth checking out!
LESSON 5 -- BRUSH SIZE MATTERS
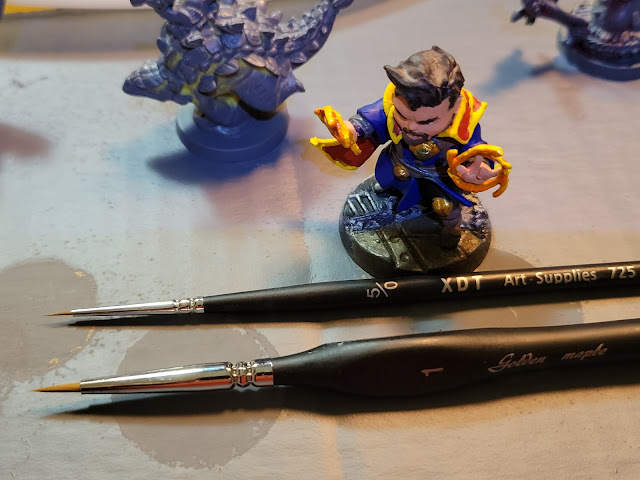
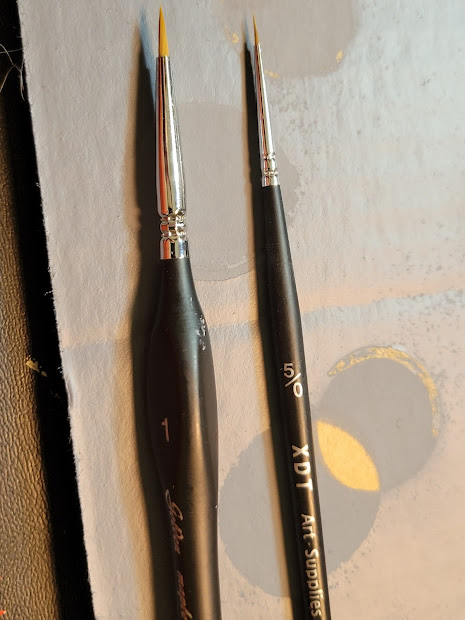
When I bought my first tabletop games, I just picked up a bundle of #1 sized brushes for painting miniatures. Figured a basic brush size should do just fine. That was a mistake! The brush was too big for highlights all the different aspects that I wanted to stand out in the miniature.
Brushes actually go down from sizes 0 to 00000. 0x5 is actually my preferred size for miniature painting now. When you want to have intricate details stand out with different colors and shading these 0-sized brushes really let you pinpoint aspects of the miniature.
Size matters! For larger models of big creatures, buildings and vehicles you can go all the way up to a 6-size brush. For miniatures that don't have bigger expanses of space to cover a 1-size brush can be just fine too. You don't want to overload 0-size brushes with paints so if you can mix in some larger brushes too that extends the life of your more delicate brushes.
The main point of this lesson is to keep in mind there is a variety of brush sizes and make sure you have an understanding of that before you start painting. I was seeing other people working on details that I just couldn't do with a 1-size brush and realized that going to a smaller size would improve on what could be done.
LESSON 6 -- DON'T WORRY ABOUT LOOKING SILLY
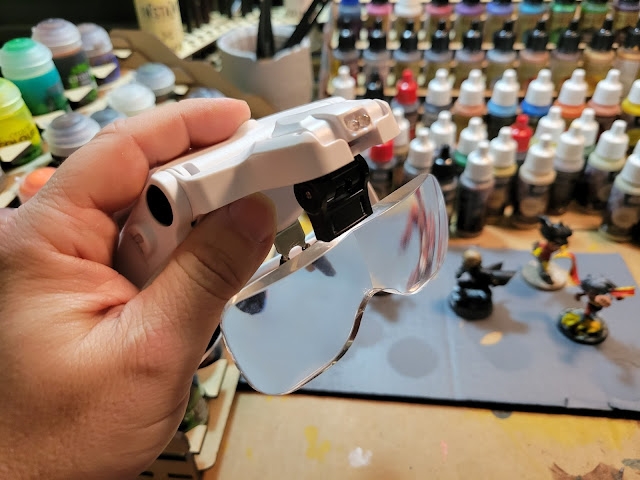
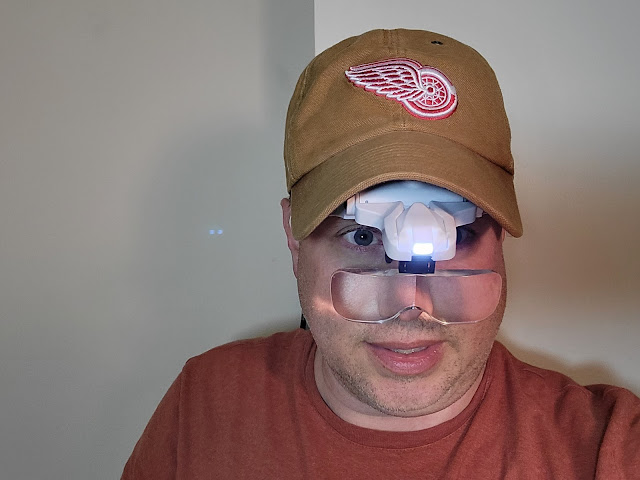
A big problem I had with painting miniatures was that my eyes weren't focusing in well enough to see all the details of a figure. I bought a set of wearable VISION AID magnifying glasses and it has done wonders on the quality of my work. It has done wonders with my hand-eye coordination and has been a wonderful purchase. It has a number of lenses ranging from 1.0x magnification to 3.5x. Plus, it has a light built-in that is directed at what I am looking at and is rechargeable with a usb cord.
My wife and kids laugh at me when I wear my VISION AID; but I don't care because it is so helpful when I'm using it. The difference in my miniature painting from before and after using VISON AID is like night and day. I don't care if I look silly wearing these magnifying glasses. This has been a great purchase and I am so glad I bought one. It earns a Geek Daddy nod of approval because I love using them!
LESSON 7 -- CREATE A DEDICATED WORK SPACE
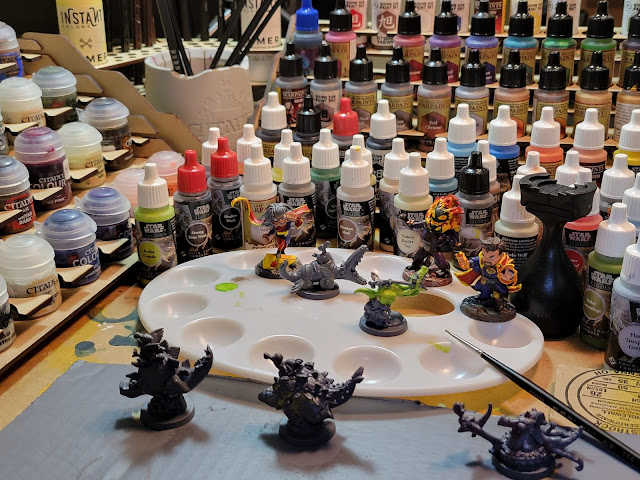
At first, I would bring my games, miniatures and paints out and then pack everything up and put it back in the closet. Large gaps of time would go by between my paint sessions because it was such a pain to set up and take down everything every time. Once I designated a dedicated space in a corner of my basement as a hobby studio my time spent miniature painting became much more consistent.
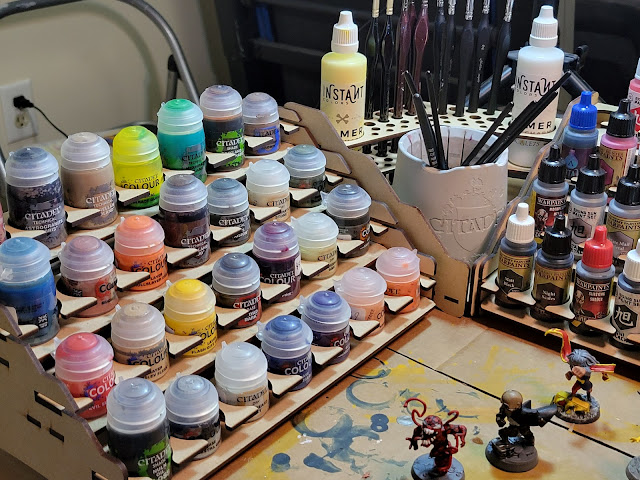
It wasn't complicated to make a space. I just set up a card table and purchased a brush/paint stand on Etsy. The items I bought from SnarkySayings have worked out great. Check them out if you are looking for some miniature painting storage solutions. They earned a Geek Daddy nod of approval for quality products and customer service!
SHARE YOUR HOBBY TIPS
There you have it! Some lessons a beginner in the tabletop gaming and miniature painting hobby learned through trial and error. If you are just getting into the hobby, I hope you found these tips useful. Have tips and lessons learned of your own to share? Please let the rest of us know about your experiences by leaving a comment here at ageekdaddy.com so we can all get better with help from each other.







No comments:
Post a Comment